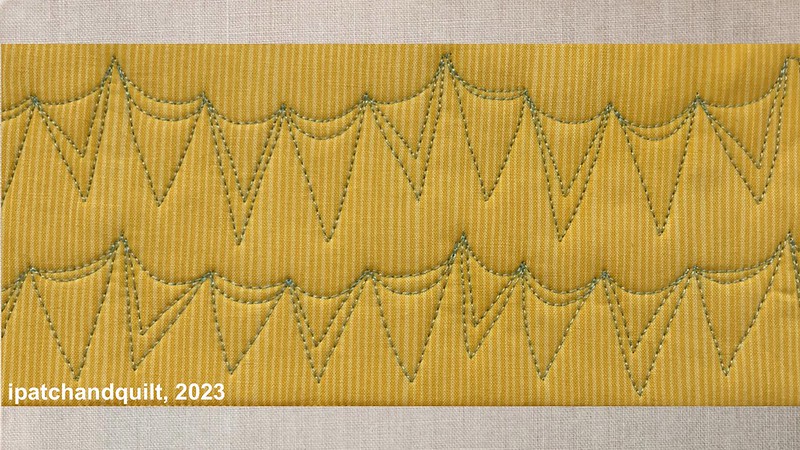
Have you ever made your own free motion bunting?

A basic bunting design is pretty easy ‘to put up’. Before you start, add some guidelines on your fabric so you know the curve of the bunting. Use chalk or a fabric marking pen.
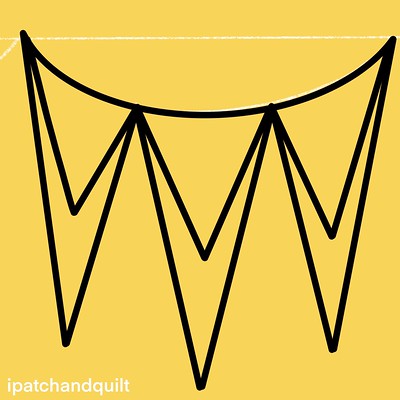
Begin by stitching out the arches of the bunting, freehand or with a ruler. Then go back in and add the zigzag line for the little flags. It doesn’t matter if you start the zig zag from the right or the left.

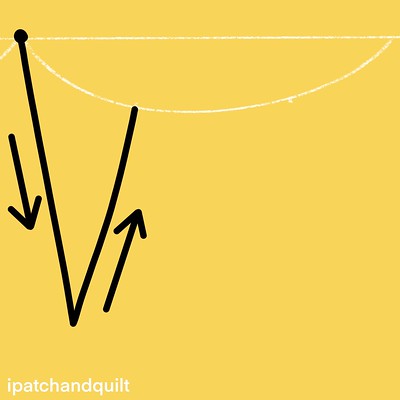
There is no need to stitch out the big arches first, you start with the first flag after marking your guidelines. This pattern only has three steps to remember!
- Start with the zigzag line (down and up)
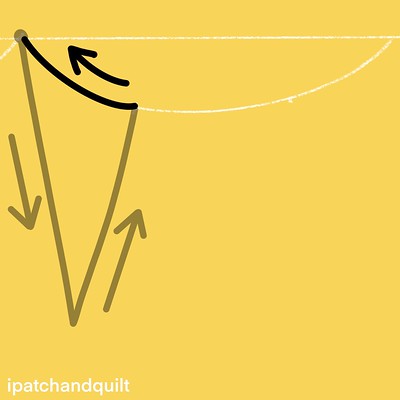
- Move back to your starting point following the marked arch.
- Add the decorative element and start the sequence again.
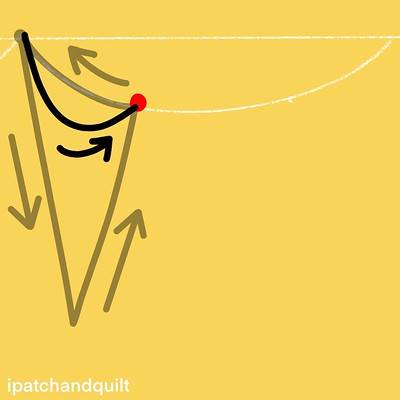
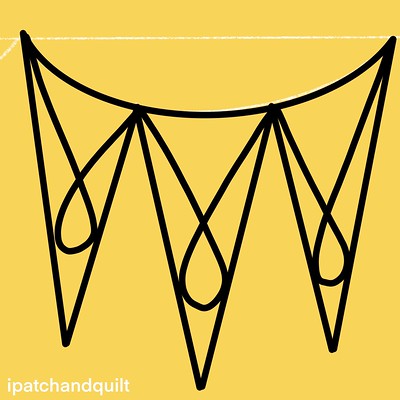
The red dot in the last drawing above is the starting punt for the next flag in the row.
You can see this design being stitched out on YouTube. An animation with more visual contrast is available here.

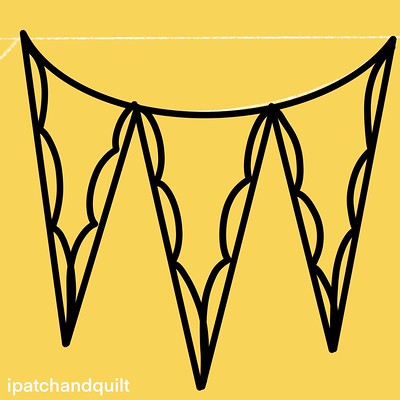
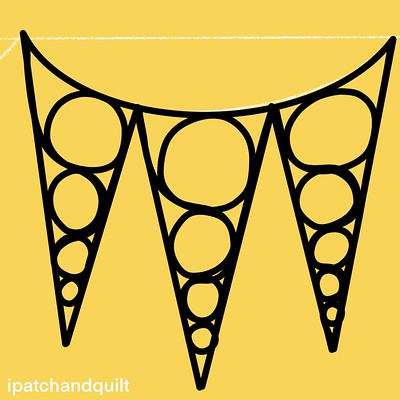
Alternate designs for the flags for some extra interest.
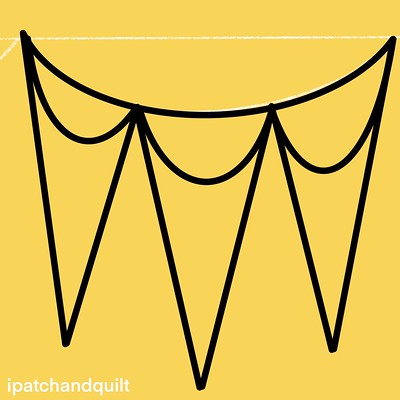
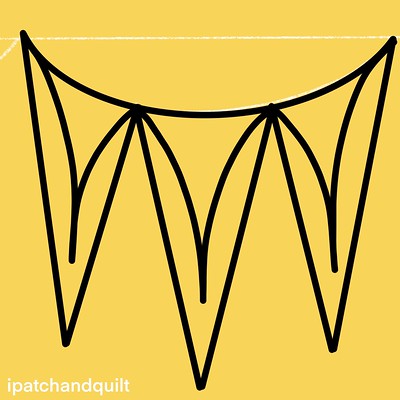
The extra line can look like a triangle or arch, but there are a lot of other options. The bigger the flags are, the more detailed you can get.
Oh, and this bunting design works well too as teeth for a monster, crocodile or shark, ha ha!
Hugs
Esther


This is a fun one, and would work well on something less formal. It’s also a fairly forgiving design, so mistakes can look intentional!